💡 Support Note: This issue includes a sponsored ad that helps us keep the newsletter free. A simple click makes a real difference — thank you!
Does your car insurance cover what really matters?
Not all car insurance is created equal. Minimum liability coverage may keep you legal on the road, but it often won’t be enough to cover the full cost of an accident. Without proper limits, you could be left paying thousands out of pocket. The right policy ensures you and your finances are protected. Check out Money’s car insurance tool to find the coverage you actually need.

People often ask me how I make my greeting cards (and if I really make them myself!).
And the answer is yes — every single one! Recently, I’ve been creating most of my cards using watercolor.
About a year ago, I started an art class at Art School of San Francisco Bay. It’s one of the best decisions I’ve made. I’ve been learning watercolor and oil painting, and I can really see how much my technique has improved since I began.
Today, I want to share the story of how I painted my Halloween Cat — and some fun watercolor tips! I pictured a cat that looked elegant and mysterious, not cartoonish, with a Halloween vibe.
Stick with me until the end — I’ve got a little Halloween surprise waiting for you! 🎃

The First Step
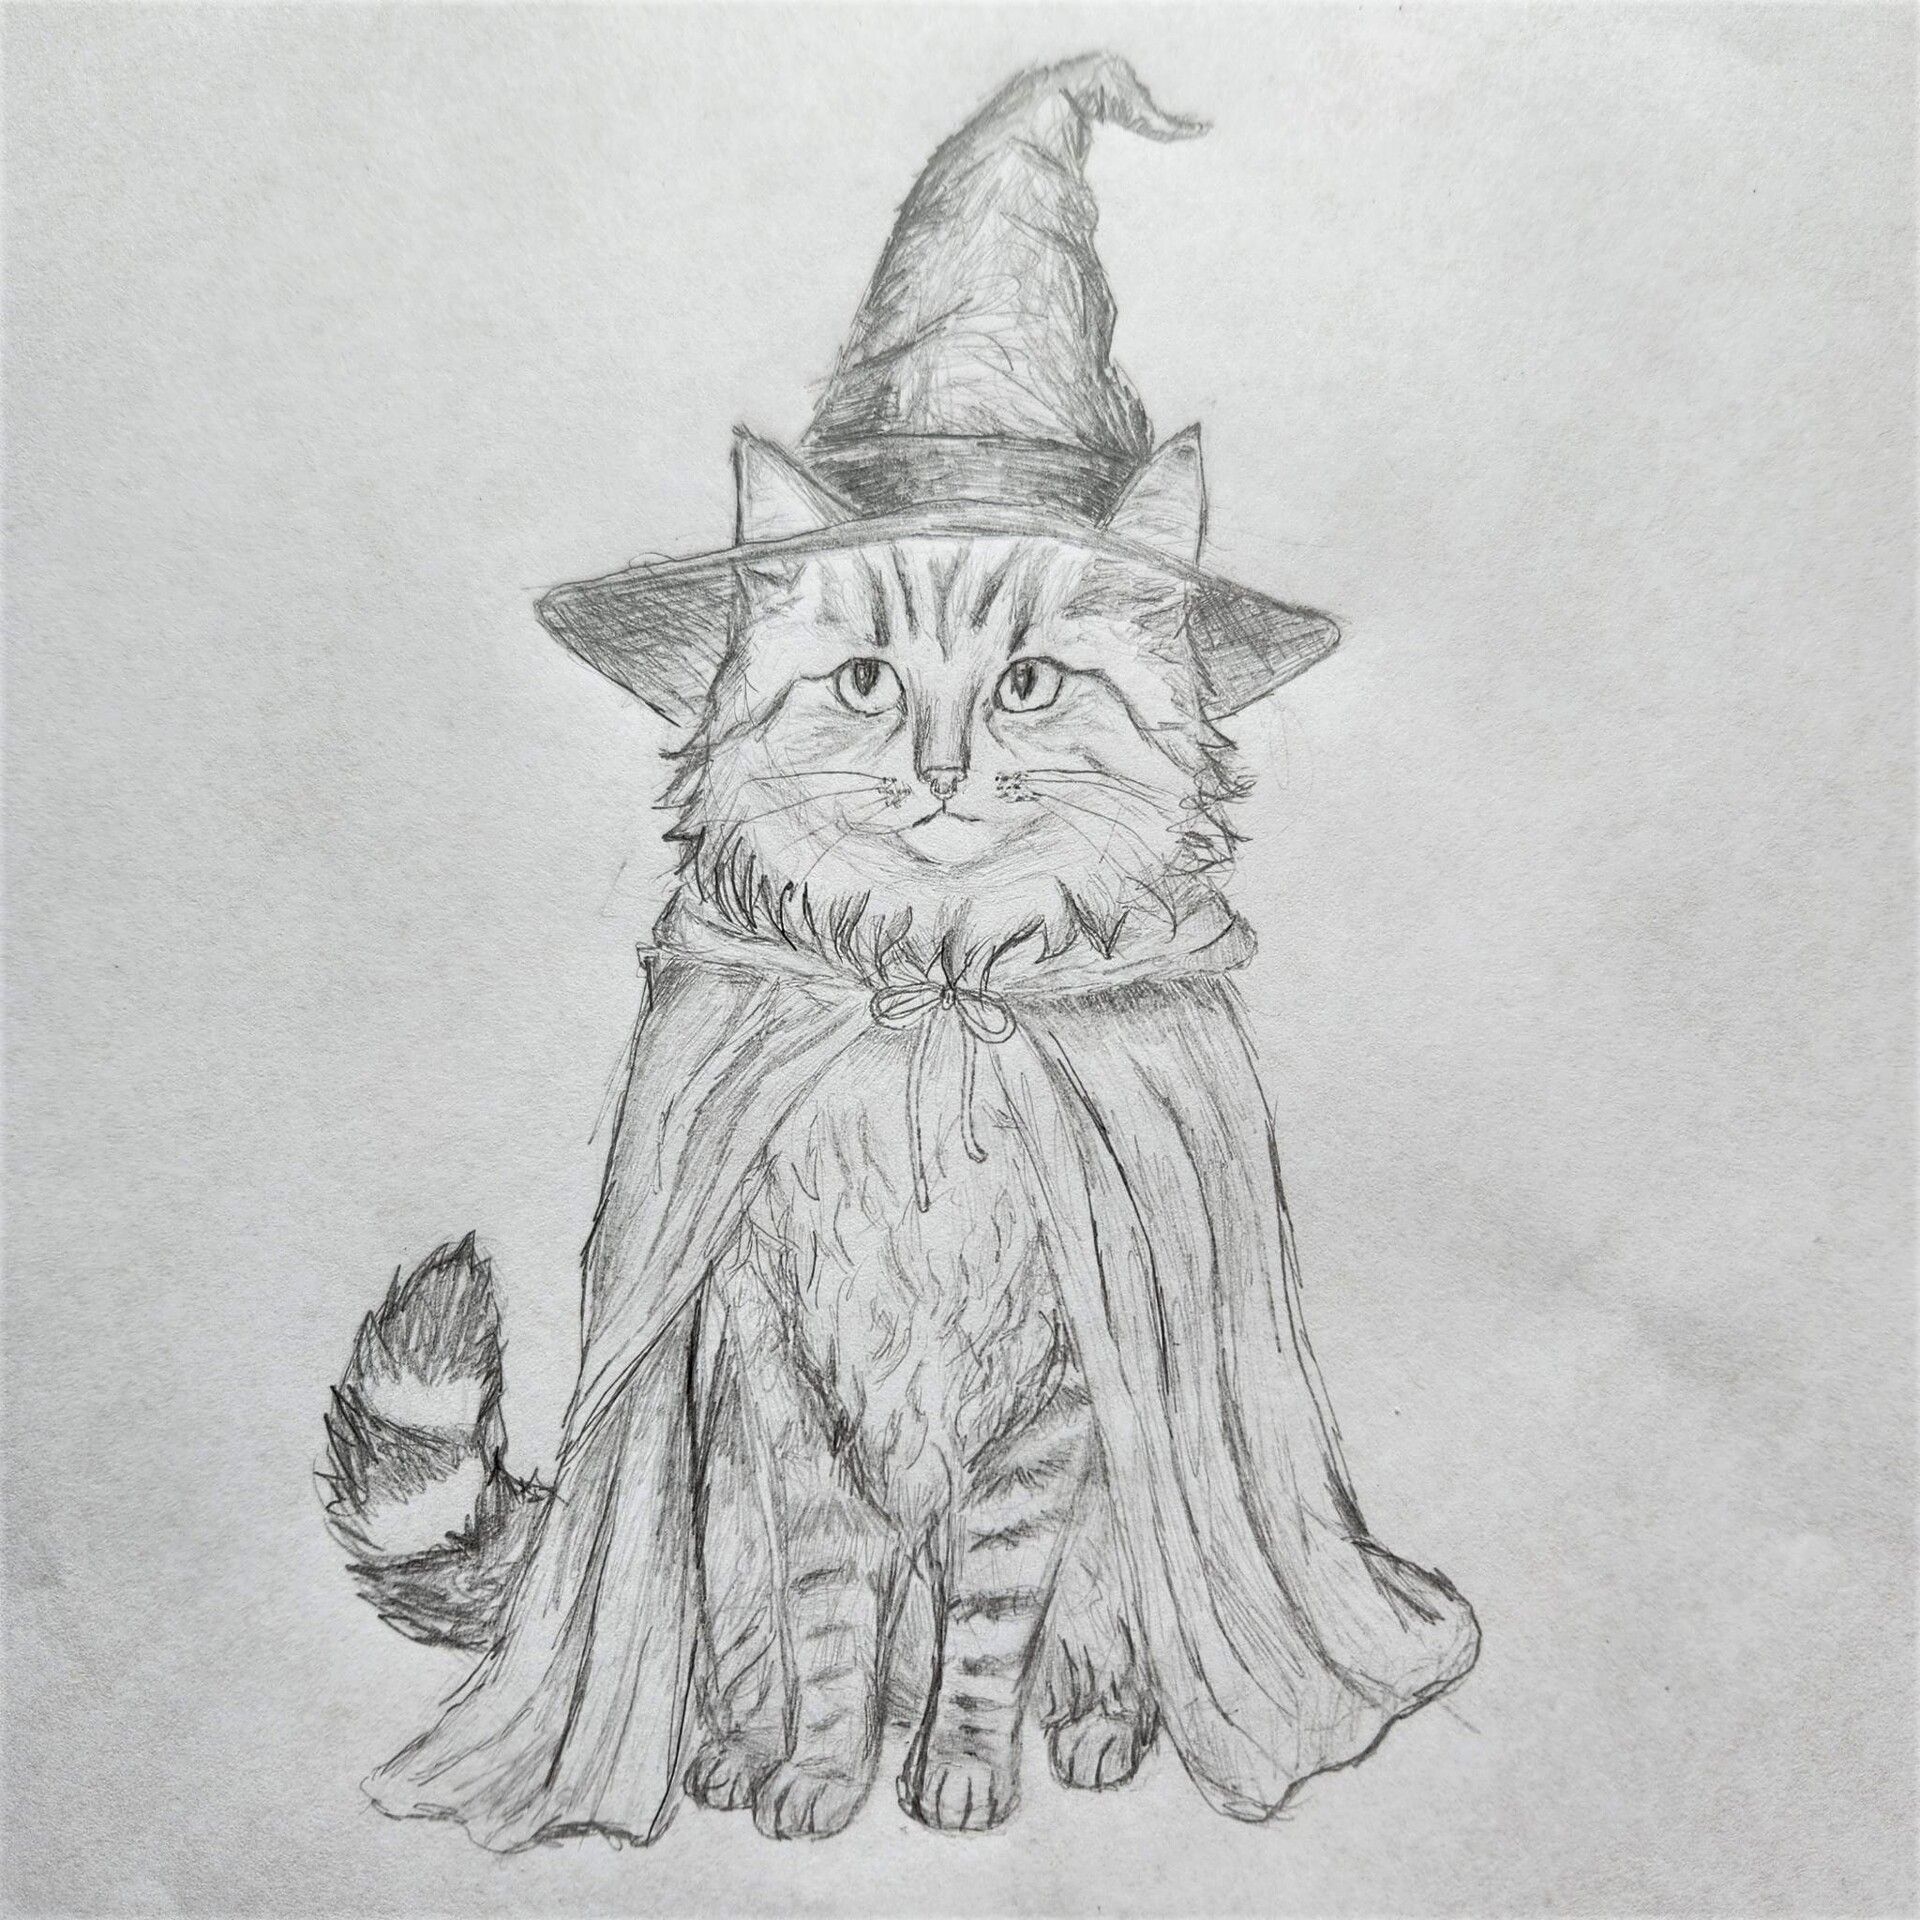
I started with a pencil sketch on printer paper. It was my “rough draft” where I could make as many dark lines and adjustments as I needed.

I spent a long time sketching the cat’s face to make sure it didn’t look crooked or awkward.

The LED light pad (also called a light box) lets you see through the top sheet so you can copy your design neatly.
Once I was happy with the sketch, I placed it on a light box and traced it onto thick watercolor paper. That step helped me keep the final paper clean — no messy erasing or heavy pencil marks.
Face First: Light Washes
This was my favorite part — painting!

For this piece I began with the face.
I laid a very light, watery beige over the main fur areas. Then I nudged in gentle shadows around the eyes and nose. I almost never use straight black; I prefer mixing my darkest tones from deep browns and blues so the “black” belongs to the rest of the palette. A common beginner mistake is using paint straight from the watercolor set without adjusting it; I always mix my own shade and add a few drops of water so the layers stay smooth and not chalky.
Building the Features (small brush time)
When it was time for the face details, I switched to a smaller brush and took my time.
The eyes, nose, and mouth can completely change how a painting feels.

Even the tiny reflection in the pupil can make the whole expression look off if it’s in the wrong spot!
Also, with watercolor, you can’t simply paint over mistakes like with oils — it’s transparent, and too many layers can even damage the paper. So every stroke counts.
Cape and Hat
When the face finally looked right, I moved to the outfit. I laid a soft red wash over the cape, then toned it down by mixing in a touch of green (red’s complementary color) to get a richer, calmer red for the folds.
Then, once those first layers were dry, I deepened the shadows — behind the cape’s creases, under the hat brim, and in the fur’s darker stripes.

Those extra darks are what give the piece depth — that little “pop” that makes it feel alive.
The Whiskers
Whiskers are tricky in watercolor because they’re white. I couldn’t just paint black lines, and cutting out tiny white streaks didn’t look right. So… I left them out! 🤭
Did you notice?
The Final Result!

The Freebie
As promised, here’s your Halloween Cat freebie!
You can download the design as a printable PDF — perfect to use as a Halloween poster or invitation. Print it at home or have it printed at a local shop for a beautiful result.

You can also find a Halloween Cat poster at our upcoming pop-ups & markets.

Using the free Halloween Cat PDF, you can easily create your own poster or invitation like this one in Canva!

A Little Note
Watching YouTube tutorials can teach you a lot, but an in-person class is another level. It pushes you to practice, learn faster, and stay committed.
I love jumping on a Muni every Saturday morning, heading to class, and spending a few hours surrounded by people who love art as much as I do.
Taking this art class was a real decision for me. It meant reorganizing my weekly schedule — and it came with a cost. But honestly, it’s been such a great investment.
If you’re curious, here’s where I go: Art School of San Francisco Bay.
🤝 Before You Go
💌 New here? You can still catch up — read our previous newsletters here.
🔁 And if you know someone who might need this newsletter today, feel free to forward it their way.
Zélia, for SoliaVenture


